VoIP Cookbook: Registering a Nokia to VoIP Softswitch
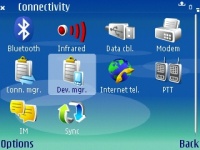
For establishing connection to VoIP, select Internet tel. (shown as a globe icon with yellow phone). This is assuming that you have properly configured Internet Telephony settings. Unlike Nokia E61, Nokia N80 connects to VoIP through option available in a folder labeled Internet. Go into the folder and choose Internet Telephone.
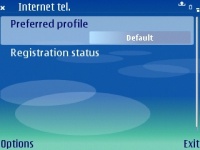
In Internet telephony (shown as Internet tel.), we will be provided with two parameters:
- Preferred Profile, the name of Internet Telephony Profile we use.
- Registration Status, the registration status of SIP account we set in SIP Settings.
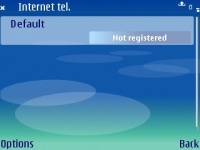
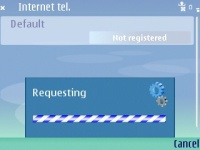
If we choose “When needed” in the Registration parameter in SIP Settings, the status of initial condition of internet telephony setting, when Internet telephony is active, is Not registered.
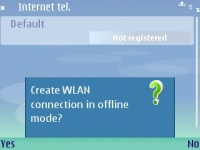
If we attempt to change the status from Not Registered to Registered, what Nokia will firstly try to establish connection to the Access Point which we have configured in SIP Settings. When Nokia asks whether you want to create WLAN connection in offline mode, select Yes. This selection will connect Nokia E61 to a WiFi network.
Offline mode can somewhat be problematic, because if we are in offline mode, it means that although we are registered with the SIP server, people are still unable to contact us. To make sure that we can be contacted via GSM, we need to activate Nokia so it becomes online mode. Online mode will be possible only if we are using SIM card in the phone and are connected to a cellular network. In online mode, other users will be able to contact us through both VoIP or GSM.
Once connected to a WiFi network, we have to wait for a while to let Nokia register itself with the Softswitch.
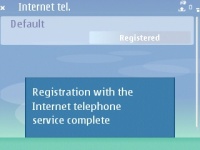
If registration with the internet telephone is completed, there should be a notification saying so, as shown in the Figure. Such notification indicates Nokia can now be used for internet telephony.
