VoIP Cookbook: Nokia Wireless Configuration
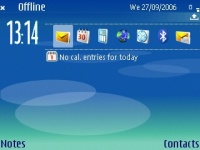
Nokia's console display looks like what is shown in above Figure. There are things to be configured so that Nokia can be connected to both WiFi and VoIP:
- Enable WiFi and create a profile of an access point that can be accessed.
- Create SIP account.
- Create a Profile from internet telephony facility.
Click the globe icon to open the menu.
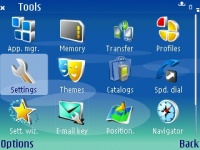
With the menu open, select tools. Through this option, we can configure WiFi, SIP, internet phone and other settings.
With the Tools icon selected, select Settings in order to access connection menu allowing us to configure WiFi, Internet Telephone and SIP settings.
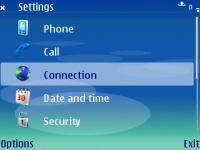
In Settings, there are several options we can choose: Phone, Call, Connection, Date and Time and Security. To configure WiFi Access Point, SIP Settings, and internet telephony, we need to configure using the Connection submenu.
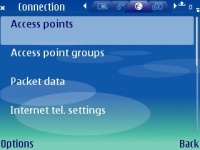
In the Connection menu there are a few more options. We need to configure only three of them: Access Points, SIP Settings and Internet Telephony Settings. Select Access points.
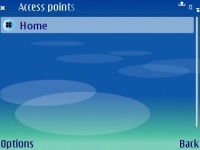
With the Access point menu open, we can add Access Point, by selecting the Options menu located at the bottom-left f the display.
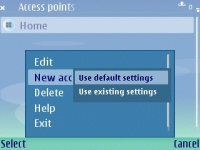
There are several options available in the Access Points menu: Edit, New Access Point, Help, Delete and Exit. To add a new Access Point, select New Access Point, which will bring two more options: Use default settings and Use existing settings. Assuming that this is the first time you're using the phone, select Use default settings.
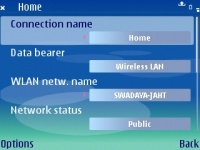
For creating an Access Point profile, we need to set the Connection name, type of connection (Data bearer), and the name of WLAN network. For data bearer, choose Wireless LAN.
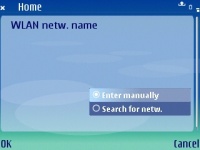
If you know the name of the network, enter it manually, by selecting Enter manually. Otherwise, let the phone find any available network, by selecting Search for network.
