VoIP Cookbook: Linksys Wireless-G IP Phone
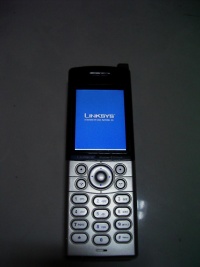
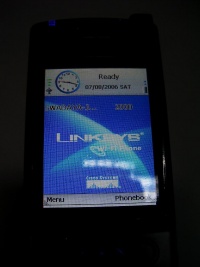
Linksys launched a Wireless-G IP Phone a dedicated WiFi Phone. It is not a PDA nor ordinary cellphone (See figure 3.12). If you have the WiFi Phone properly configured, connected to the Wireless Access Point and registered to a VoIP Softswitch, then what should appear on the screen of the phone is the name of the access point and the telephone number of the phone. Under this circumstance, the WiFi Phone is ready to be used for calling.
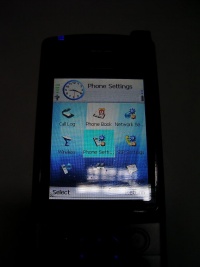
In Linksys WiFi Phone main menu, there are at least two (2) things you have to configure so that your phone will function well. Firstly, the wireless settings, by which we can scan any access point wireless frequency and connect our phone to the access point so we can be connected to the internet. Secondtly, the Phone Settings, allows us to configure the SIP server that we use to call. For the latter, you need to fill in the information pertaining to phone numbers, passwords and the servers used. Since we are using VoIP Rakyat as an example, the information should be those of VoIP Rakyat.
Configuring the WiFi Phone using menu shown in the figure is easy, but since there is no software that could help us capture the screens for configuring the phone, we use the web configuration instead for the purpose of helping you understand how to configure the WiFi Phone. The same result should otherwise be similar to that of direct phone configuration. In contrast to WiFi Phone that is combined with PDA or GSM, Linksys WiFi Phone can be configured using the web, in addition to feature allowing you to directly make configuration using the menu available in the phone screen.
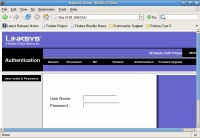
The web will appear as what is shown as figure 3.15. It is the display prompting you to enter your user name and the password required to authenticate your account. The default for the username and password is admin and admin respectively.
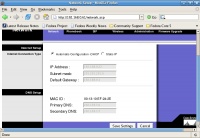
Once you have entered the username and password, you will be brought to the administration panel whereby you can configure the IP address. Normally, in a hotspot that provides any user connecting to it with free IP address, we just need to set the configuration to “Automatic Configuration-DHCP”. In the case where the IP address is not provided automatically by the hotspot, you have to manually enter the information pertaining to the IP address, subnet mask, gateway, primary and secondary DNS. The MAC address of the WiFi Phone appears by default. Once you have finished entering these information, click Save Settings to save them into the memory.
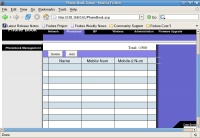
In the Phonebook menu, we can add new numbers or delete the ones already listed there. We can also include multiple numbers for each person.
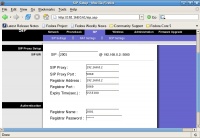
In the SIP Settings tab, we can configure the IP address of the SIP Proxy, SIP Port (usually 5060), the IP address of the SIP Registrar (usually the same as that of SIP Proxy), Registrar Port (also usually 5060), and SIP account number consisting of telephone number and the password related. As for VoIP Rakyat SIP information, fill in the SIP Proxy and SIP Registrar with voiprakyat.or.id.
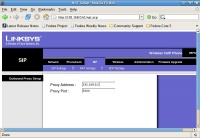
In the NAT Settings menu, you can configure the Proxy address and Proxy Port. The Proxy address for VoIP Rakyat is voiprakyat.or.id. And the Proxy Port normally used is 5060.
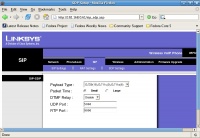
In SIP-SDP Settings tab, we can configure several things related to the type of Codec, packet time, DTMF Relay, UDP Port and RTP Port. These parameters are good by default, so just leave them as is.
In the Wireless section we can see to which Access Point the WiFi Phone is connected.
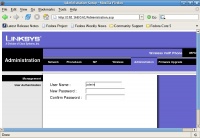
In administration section, we can set the administrator's username and related password for the WiFi Phone. The default configuration for username and password are both admin.
