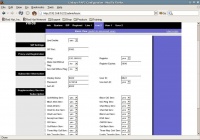
VoIP Cookbook: Linksys PAP-2 Analog Telephone Adapter
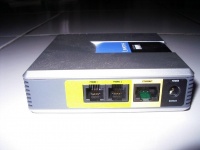
The simplest type of VoIP hardware is the Analog Telephone Adapter (ATA), which can easily be connected to a conventional telephone. The ATA used as an example in this book is the Linksys PAP2, which has two RJ-11 ports (FXS ports) that can be connected to two conventional phones. Each of these ports can be registered to a SIP Proxy server individually. As a result, we could have two SIP accounts, each connected to a conventional phone.
What we have to understand is that an ATA has two type of RJ11 connections, namely,
- FXO to be connected to PSTN / Telco line / PABX extension.
- FXS to be connected to Telephone line / FAX.
After all UTP, LAN, power and telephone cables are plugged in, you have to first of all find out the IP address of the Linksys PAP2 so we will be able to configure using the web, by carrying out the following steps:
- Press “*” repeatedly on the phone keypad until you hear someone talking through your phone.
- Press “110#” to listen to the IP address for the Linksys PAP2 configuration.
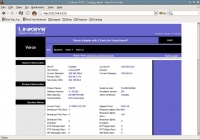
The next step is to configure your PC so that you can configure Linksys PAP2 through the web. All you have to do is match the family IP address to PAP2's, by doing the following: Go to Start, Open Control Panel, Network connections, local Area Connection, Internet Protocol (TCP/IP) and Properties. Then go to Web Linksys PAP2 from your PC through the following URL http://ip-address-pap2/.
Click Admin Login, which is on the top right to begin the configuration as an administrator.
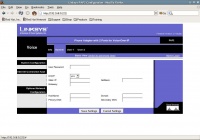
To view or change the IP address configuration, click System. Check whether the IP address, Gateway and DNS put in place are correct. Alternatively, set DHCP to “yes” so Linksys PAP2 will use the IP address that is obtained automatically.
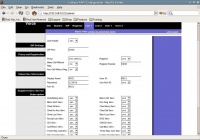
In Linksys PAP2 we can set up two SIP accounts registered with the SIP Proxy, with each account connected to a phone. The account settings can be done in menu "Line 1" and "Line 2".
Few important steps to do in activating an account in both menus:
Set Line Enable to yes. Fill in your account using the following parameters:
Proxy		voiprakyat.or.id
User ID	telephone number given by Voip Rakyat
Password	the password given by voiprakyat
Use Auth ID	no
If you set Auth ID to yes, then fill in Auth ID with the telephone number given by VoIP Rakyat. Do the same process for your other SIP account, the one registered with PAP2 Line 2. Actually there are many other parameters that can be configured, but for a normal operation, it is not necessary to configure them. So it is sufficient for us to use the default configuration values.
