VoIP Cookbook: LevelOne VOI-2100 Analog Telephone Adapter
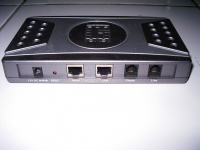
LevelOne VOI-2100 is another type of ATA which can be used in SIP-based VoIP network. Similar to SPA3000, VOI-2100 has two RJ-11s, one for the connection to the telephone, while another to connect to PSTN or PABX cable. In contrast to SPA3000, VOI-2100 has an embedded router, NAT and DHCP server inside it. There are two UTP RJ-45 plugs, one can be connected to WAN while another to LAN.
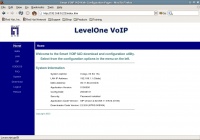
At the beginning of the LevelOne VOI-2100 menu is the status of the VOI-2100, such as MAC Address, System Uptime, etc.. Various configurations of VOI-2100 is available on the left.
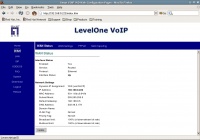
On the WAN menu, click the WAN status. We can see the condition of WAN LevelOne VOI-2100, some standard information from the WAN connection, such as IP address, Subnet Mask, gateway, and DNS server. A number of tags that is possibly to be configured to improve VoIP performance are VLAN Tag and Priority Tag, both of which can be found also in WAN status.
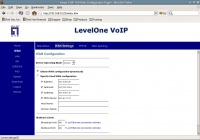
In WAN Settings. We can configure several parameters, such as,
- IP address of the WAN Connection as static or dynamic.
- Traffic limitation.
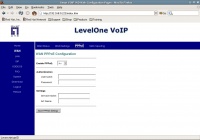
In WAN menu, click PPPoE. Coincidentally, there is a feature to authenticate ADSL that uses PPPoE. Thus, if you like please feel free to enter the username and password of PPPoE.
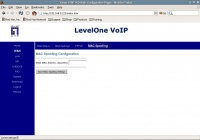
In the WAN menu, click MAC spoofing. This allows us to change the MAC address of the Ethernet WAN we want to use. This is often necessary to do when the ADSL provider to whom we subscribe our service sets only a certain MAC address capable of connecting to the provider. Through this MAC Spoofing menu, we can change the MAC address of the Ethernet WAN in order to use the MAC address approved by the provider.
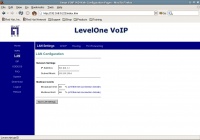
On the menu LAN, click LAN Settings. Here we can set the IP address and Subnet Mask of the Ethernet LAN that we use.
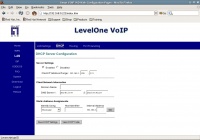
On the LAN menu, click on DHCP. We can activate or deactivate DHCP server. We can also configure the range of client IP addresses that can be allocated to the network. Note that in a given network it is possible to have a number of DHCP servers. It is important to ensure a DHCP server's IP addresses allocated are not contradictory to those of different DHCP servers. Other information such as Domain and DNS Server can also be configured under DHCP tab.
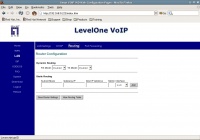
On the LAN menu, click Routing. We can add static routing to other networks if necessary. The information needed for this is just IP address destination, Subnet Mask, and Gateway router that connects to the network.
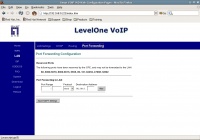
On LAN menu, click Port Forwarding. This feature allow us to do a forwarding from a port. For example, if we have Mail/SMTP Server behind NAT, then through this port forwarding, all traffic heading to port 25 (SMTP server) from outside/WAN can be forwarded by NAT to server behind NAT. Information you need to enter is port range and the server's IP address behind the proxy. For example, if we want to include just port 25, the port range should be just 25 to 25.
SIP Configuration
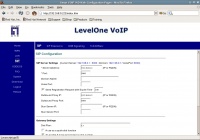
The most important part of VOI-2100 is the SIP configuration. On the SIP menu, click SIP tab. This tabs allows you to change key parameters enabling VOI-2100 to enter SIP network. Some of these are:
- Server address – IP address/ hostname of the SIP proxy server
- Port – the port number. The value often used is 5060.
- Outbound Proxy IP – IP address/ hostname of outbound proxy is usually similar to that of SIP Proxy server.
- Outbound Proxy Port – which is usually similar to SIP Port, that is, 5060.
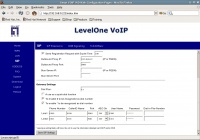
Additional information pertaining to SIP account in a SIP Proxy server needs to be included also on SIP menu, a the very bottom of the menu. These information include:
- Phone number - username in the SIP Proxy Server
- Phone number, which is the username of a SIP Proxy Server
- Caller ID, the caller ID we want to use
- Password, the one to be used to register to SIP Proxy server
There are two SIP accounts that can be registered with SIP Proxy Server: Line 1 can be connected to the telephone line while line 2 to PSTN line which plug is available in LevelOne VOI-2100. Under SIP menu, there are other sub-menus such as SIP Extension, Out of Band (OOB) Signaling, ToS etc. However, you don't have to change these parameters, as VOI-2100 can still operate without the need to change these parameters.
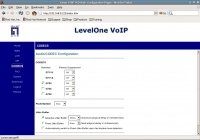
Now click on codecs. This option allows you to determine which voice compression method or codec that can be activated. Usually, it is better to activate all of them so you will have flexibility in communicating with a variety of softphones or IP phones, just in case a codec does not work properly and you have to switch to different one.
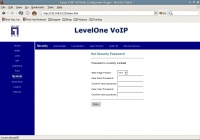
Now click on System, then to security. Under this tab, we can change the web administrator password needed to access LevelOne VOI-2100 web menu.
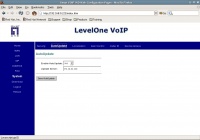
Now click the AutoUpdate tab, next to Security. The submenu under this tab allows you to update firmware of LevelOne VOI-2100 automatically through the Internet.
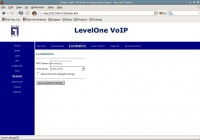
Now click Localization. Set the time to synchronize our time to the server's in the internet and also set our location to the time zone for our location.
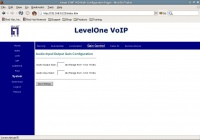
Now click Gain Control. This tab allows us to adjust the volume of both audio output and audio input. This is measured in decibels. To decrease the volume, we need to enter negative audio gain values, such as -2 dB and so on. To increase the volume, put some positive integers.
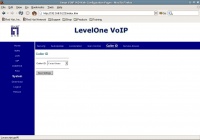
Now click Caller ID. Choose the sort of caller ID you want to use.
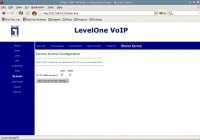
Click Service Access, the last tab under System submenu. Service Access allows us to determine which interface will be accessible throough LevelOne VOI-2100 administration. The default configuration allows web administration access through LAN and WAN.
