VoIP Cookbook: Configuring Ekiga
Principally, We need to do
Ekiga -> Edit -> Accounts -> Add a SIP Account
The needed informartion would be
Name			: VoIP number
Registrar		: SIP Server
User			: VoIP number
Authentication User	: VoIP number
Password		: password VoIP
In the early start of Ekiga, we need to set several parameters. We may cancel the early configuration process and do it later through Configuration Assistant menu from
Ekiga -> Edit -> Configuration Assistant
The detailed process of Configuration Assistance is as follows,
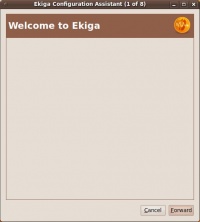
A welcome banner is shown from the Configuration Assistant menu. Press “Forward” button o move forward the configuration process.
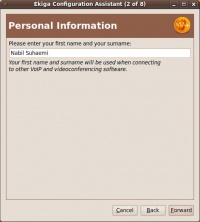
The first step, we need to enter our full name into Ekiga. Then press “Forward” button.
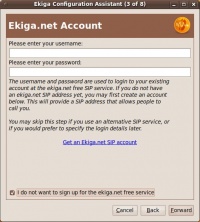
The next menu, we can submit our Account at Ekiga.net. Ekiga.net may offer an account to make callout call from VoIP. If we don't have any account at Ekiga.net, we may press “Forward” to continue.
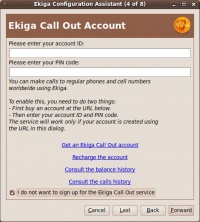
The next menu, we can submit our Account at Ekiga.net. Ekiga.net may offer an account to make callout call from VoIP. If we don't have any account at Ekiga.net, we may press “Forward” to continue.
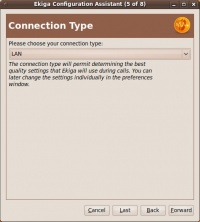
Next, we need to set the type of network. This will affect the CODEC used to compress the audio. For a good performance in LAN environment, please select LAN. Press “Forward” to continue.
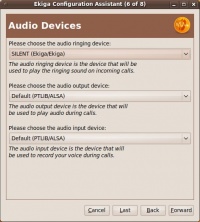
Next, we need to set the type of sound card to be used in VoIP. Ekiga is fairly smart to detect the available sound card. We hardly need to choose or change the Ekiga's selected sound card. Next , we need to press “Forward” button.
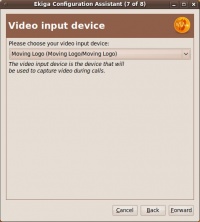
Next, we can select the type of video device if one is connected. Ekiga is smart enough to detect any video device on the system. To continue, press “Forward”.
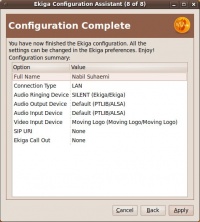
Finally, the configuration process of Ekiga is completed. It will show the summary of the parameter in Ekiga. Press “Apply” to begin uses Ekiga.
