VoIP Cookbook: Configuring Account in Ekiga
Configuring an Account in Ekiga may be done through menu
Ekiga -> Edit -> Accounts
or
Ekiga -> Ctrl-E
The detailed of VoIP Account configuration in Ekiga is as follows,
After the Account menu is activated, we will see the above figure.
Click on Accounts -> Add a SIP Account
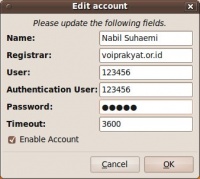
In the above Example, we enter the parameter to use SIP account in VoIPRakyat. Enter the data, namely,
Name			Nabil Suhaemi
Registrar		voiprakyat.or.id
User			123456
Authentication User	123456
Password		<your password in voiprakyat.or.od>
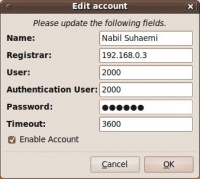
In the above figure, we set the parameter for local VoIP softswitch at IP address 192.168.0.3.
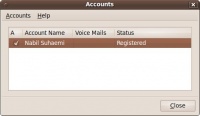
Make sure the account is activated by click-in on the A column. To use the account, we need to make sure the account is registered to the softswitch.
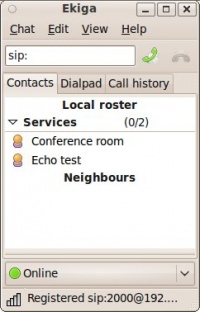
Shown in the above figure is Ekiga after it successfully registered to the softswitch. At the bottom of the softswitch we can really see that it “Registered sip: …...”. At this point, we can make a call by putting the destination number in after the sip: field.


