VoIP Cookbook: Configure Linksys SPA3000
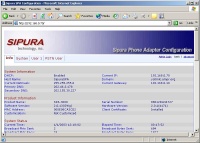
SPA3000 logical configuration is not much different from other VoIP equipment. In general, we need to configure: IP address, Netmask, Gateway, DNS, the telephone number, password and SIP server. The initial appearance of SPA3000 is somewhat similar to that of other Linksys products. So this is a plus for those who are already familiar with Linksys product.
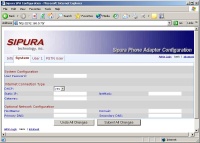
On the System menu you can set the IP address, Netmask, gateway, and DNS of the Linksys SPA3000. If you have a DHCP server, you can enable DHCP so ATA will get its IP address automatically from the server.
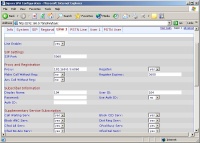
Registration to the SIP server for the telephone is carried out through Line 1 menu. We need to enter some information:
Line Enable - yes
Proxy – the SIP Server.
Display Name - the phone number in the SIP server.
User ID – the phone number in the SIP server.
Auth ID – the phone number in the SIP server.
Password – the password to register to the SIP server.
Once you completed all these, the configuration for registration to SIP server for telephone connected to phone/FXS interface is completed.
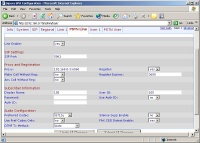
For connectivity to PSTN, the configuration for PSTN Line registration is similar to Line configuration, using the following configuration:
Line Enable - yes
Proxy - IP address / hostname of SIP Server.
Display Name - the phone number in the SIP server.
User ID - a phone number in the SIP server.
Auth ID - a phone number in the SIP server.
Password - password to register to the SIP server.
Once these are completed, so is the configuration for registering the PSTN Line to SIP server for telephone cable connected to FXO interface.


