VoIP Cookbook: Activate VQManager Web Service
When we run VQManager Web Service for the first time, we need to activate the Web Service. Firstly, we need to start VQManager as background process, such as,
sudo su -
cd /root/ManageEngine/VQManager/bin/
/root/ManageEngine/VQManager/bin/run.sh &
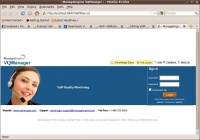
Access via Web to http://localhost:8647 with default username & password admin & admin.
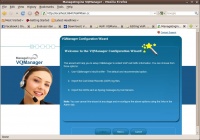
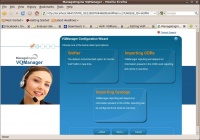
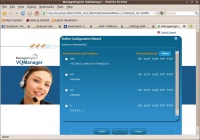
As we access the VQManager Web for the first time, it will tell us that we can choose whether,
- Use VQManager builtin sniffer.
- Import the Call Detailed Records (CDR) log files.
- Import the CDR sent as Syslog messafes by the Call Servers.
Click next to continue.
Click on one of the option. The easiest may be “Sniffer”. Click Next; after we choose the method.
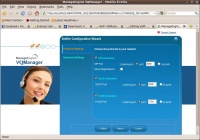
In the the following menu, we can choose the protocols to be monitored in the network. In the normal VoIP network, we don't have to change the values.
Click Next to continue.
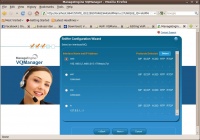
This is the important part. We need to select, the interface to be sniffed.
In the above figure, we choose interface eth0 to be sniffed.
Click Next to continue.
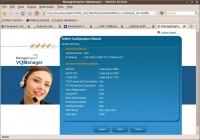
Finally, VQManager will show the summary of our VoIP Monitoring platform.
Click Next to continue.
Finish configure VQManager.
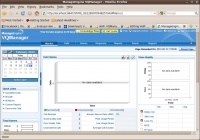
The above figure shows the VQManager monitoring display. It shows a lot of important information regarding the monitored VoIP infrastructure.
