VoIP Cookbook: Access to the SIPp Webfrontend
SIPp Webfrontend can be accessed via
http://localhost/sipp
username admin
password <no password>
Shown in the Figure is the Web frontend menu for managing the test. For simple & common test, we basically need to access this menu only.
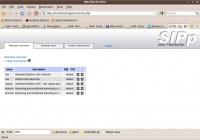
Several scenario has been builtin in SIPp can be seen in the Managed Scenario menu. We can always add more scenario if you like.
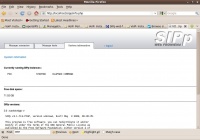
In the System Information Menu, we can see some information on the system, such as, any running test, free harddisk space, SIPp version etc.
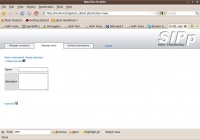
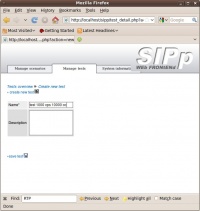
To create a new test, in the Managed Test Menu, select Create New Test. We can type in the name of test and its description. Don't forger to press the "Save test" button to save the test.
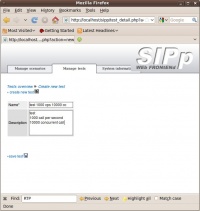
In the example, we use “test 1000 cps 10000 cc” for a test to create 1000 call per second and 10.000 concurrent call. Title can be anything, as long as it is informative.
We can then complete the form by putting some info in the description.
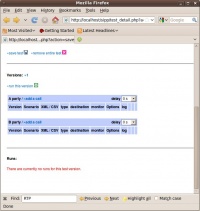
Below the "Save test" button will appear menu to configure the test in a more detail. It is interesting to note that we can simultaneously configure two (2) devices, namely, Party A and Party B.
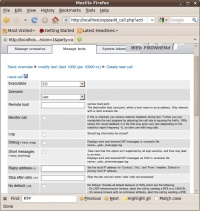
When we click add call to one of the party, some of the parameters to be configured are, scenario (as uac or uas), remote host ip address, and monitor call to see activities in real-time during test.
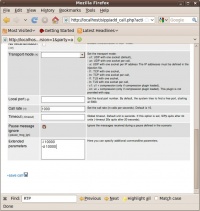
At the end of configuration call menu, we can set call rate and extended parameter. Press “Save call” button after we complete the configuration.
After all parameters completely set, we can click on “Run test” button. To do the actual run, we need to do another click on "Run test now".
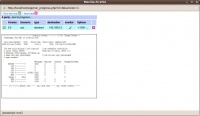
If the monitor call active, we can see the actual test run by SIPp on the screen. Press 1, 2, 3 key to see more information on test test.
