VoIP Cookbook: Installing X-Lite
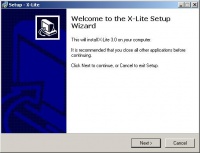
Once x-lite installer program is run, we will be directed to a Welcoming Dialog Properties. Click on “Next” to proceed to the next step of the installation process.
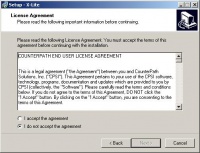
What appears next is the licensing agreement between x-lite creator and you being the user. This ensures that x-lite will not be liable for the poor VoIP voice quality produced by x-lite. Just like earlier, click on the “I accept the agreement” button and click Next.
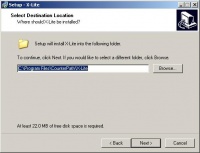
Next X-lite will ask where the program will be installed. The default folder is C:\ProgramFiles\CounterPath\X-Lite, as shown in the Figure. You can change the folder if you want. Whichever folder you choose, click Next to continue the installation process.
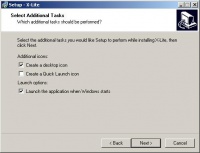
For quicker and easier way of using x-lite, you can add x-lite as a desktop icon or even set it to activate when Windows starts (See Figure). Click “Next” to proceed.


