Backtrack: Install di Harddisk
Revision as of 07:59, 1 June 2010 by Onnowpurbo (talk | contribs)
This method of installation is the simplest available. The assumption is that the whole hard drive is going to be used for BackTrack.
  1. Boot BackTrack on the machine to be installed. Once booted, type in “startx” to get to the KDE graphical interface.
  2. Double click the “install.sh” script on the desktop, or run the command “ubiquity” in console.
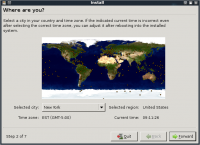
  3. Select your geographical location and click “forward”.  Same for the Keyboard layout.
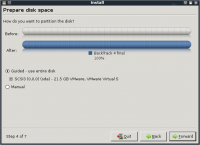
4. The next screen allows you to configure the partitioning layout. The assumption is that we are deleting the whole drive and installing BackTrack on it.
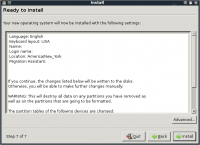
5. Accept the installation summary and client “Install”. Allow the installation to run and complete. Restart when done.
  6. Log into BackTrack with the default username and password root / toor. Change root password.
  7. Fix the framebuffer splash by typing “fix-splash” ( or “fix-splash800″ if you wish a 800×600 framebuffer), reboot.
Referensi
- http://www.backtrack-linux.org
- http://www.backtrack-linux.org/downloads/
- http://www.backtrack-linux.org/tutorials/backtrack-forensics/
- http://www.backtrack-linux.org/bt/wireless-drivers/


