Difference between revisions of "RockCluster: Instalasi Compute Node"
Jump to navigation
Jump to search
Onnowpurbo (talk | contribs) |
Onnowpurbo (talk | contribs) |
||
| Line 13: | Line 13: | ||
Selanjutnya, | Selanjutnya, | ||
| − | * Boot komputer menggunakan PXE | + | * Boot komputer compute node menggunakan PXE |
Alternatif jika tidak ada PXE boot, | Alternatif jika tidak ada PXE boot, | ||
Revision as of 06:35, 24 July 2011
Instalasi compute-node sangat mudah dilakukan jika seluruh node dapat boot dari network menggunakan PXE. Untuk itu, pertama-tama pada front-end jalankan:
# insert-ethers --rack 0
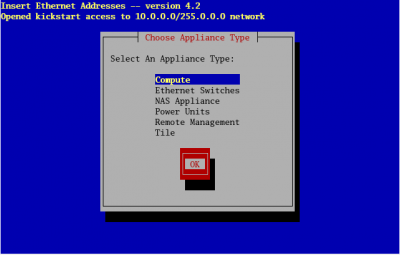
Sesuaikan nomor rack dengan kelompok compute node. Pada layar awal Insert Ethers, pilih menu compute.
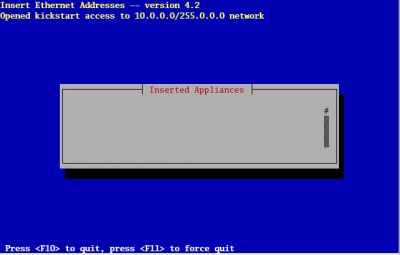
Maka akan tampak tampilan front end yang siap menerima permohonan booting dari compute node
Selanjutnya,
- Boot komputer compute node menggunakan PXE
Alternatif jika tidak ada PXE boot,
- Masukan DVD RockClusters ke compute node
- Hidupkan compute node satu persatu dengan berurutan.
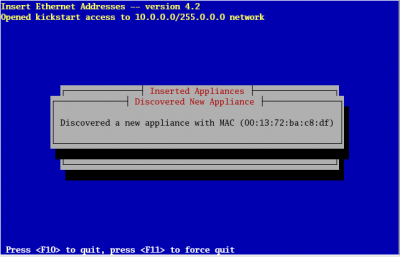
Tampak pada layar front end yang berhasil menangkap permohonan booting compute node
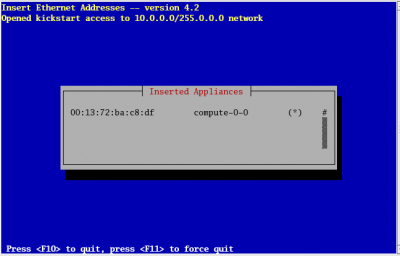
Pada layar Insert Ethers di frontend, akan nampak bahwa compute node akan didaftar MAC addressnya, diberi nama compute-0-0 (dst.), lalu jika sudah terinstall dengan baik akan ada tanda asterik (*).
At this point, you can monitor the installation by using rocks-console. Just extract the name of the installing compute node from the insert-ethers output (in the example above, the compute node name is compute-0-0), and execute:
# rocks-console compute-0-0
After you've installed all the compute nodes in a cabinet, quit insert-ethers by hitting the 'F8' key.
After you've installed all the compute nodes in the first cabinet and you wish to install the compute nodes in the next cabinet, just start insert-ethers like:
# insert-ethers --cabinet=1
This will name all new compute nodes like compute-1-0, compute-1-1, ...
Referensi
- http://computational.engineering.or.id/Rocks_Cluster
- http://www.rocksclusters.org/roll-documentation/base/5.4/install-compute-nodes.html


